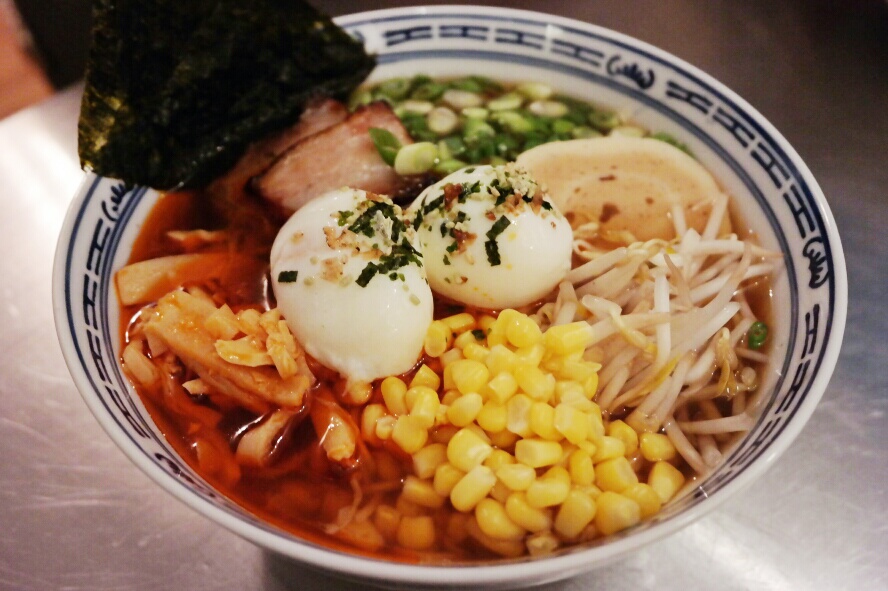
The word "ramen" invokes copious amounts of longing and salivating. A hot bowl of ramen - with its fall-to-your-knees broth, glazed pork belly, gooey egg yolk, and springy noodles - is something I can never get enough of, especially in the winter. It fills my soul with joy and my belly with warmth.
For those who think ramen is just the wrapped instant noodles with seasoning packet, come to the light of REAL RAMEN. A bowl of ramen made from quality ingredients and hours of loving labor to make a perfect broth cannot match the anemic flavor of instant ramen. Every time a ramen craving hits, instant ramen is never enough to satisfy. My frenzied self (and my most patient husband) hop in the car and drive a half hour to the closest ramen shop that serves a respectable bowl.
On this frostbite-inducing weekend, I am sparing my myself (mostly my husband) from the ramen pilgrimage and am making this tasty soup at home. The broth takes a substantial amount of time to make, but the aromas that will warm your home will make the results only more delicious. If you have a quiet day at home coming up and are feeling ambitious, start this ramen recipe early in the morning. There's a lot of slow simmering, where you can watch movies and cuddle under a blanket. Then by dinnertime, you'll have a bowl of amazing ready.
About the recipe below:
Good luck in the kitchen and happy ramen slurping!
P.S. If you have questions, pleasepleaseplease do no hesitate to contact me via post comment or e-mail!
- First, thank you to David Chang's Momofuku Noodle Genius Brain...I adapted this recipe from his creation.
- This will make enough ramen broth for about six hearty servings. You can always freeze what broth you don't use now for another day.
- Many of the ingredients can be found at an Asian grocery store or Whole Foods. Ask you local butcher or grocery meat department about the pork bones and belly.
- Most importantly, read the entire recipe first before starting! The night before your ramen adventure begins, make sure to complete phase zero by marinating the pork belly. Also, you'll be able to save time by making the Tare and roasting the pork belly while the broth's pork bones are simmering. This will all make sense once you read the recipe...
Good luck in the kitchen and happy ramen slurping!
P.S. If you have questions, pleasepleaseplease do no hesitate to contact me via post comment or e-mail!
Japanese Ramen Noodle Soup
(Adapted from Momofuku Ramen)
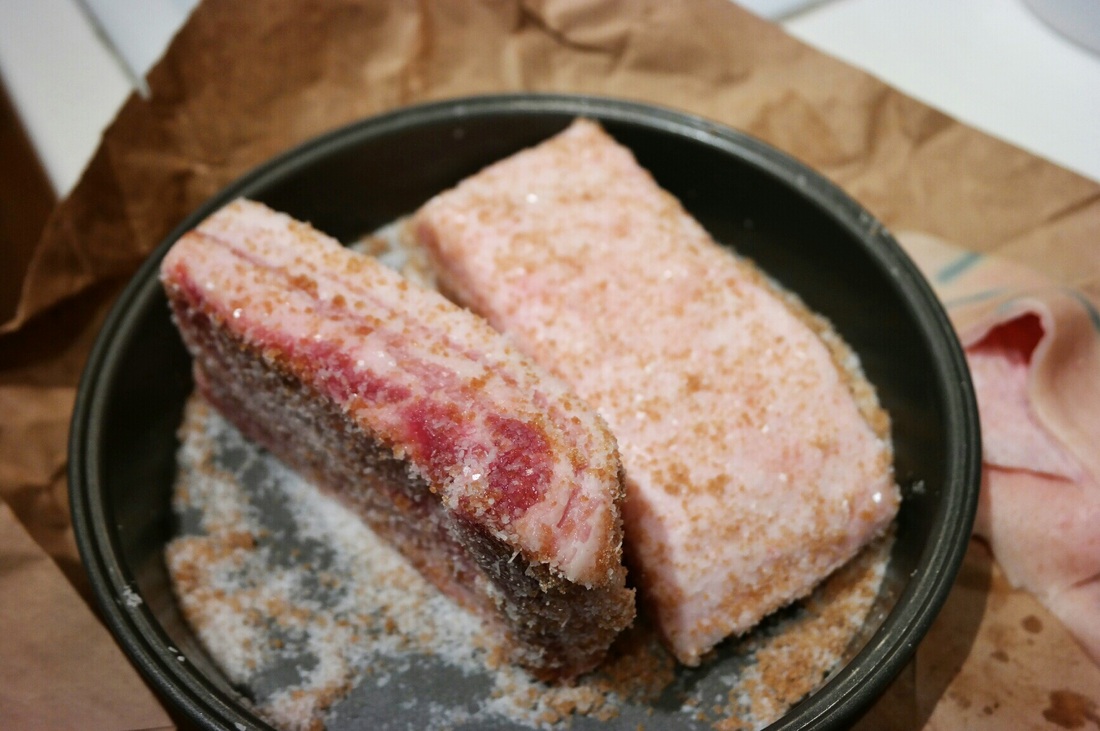
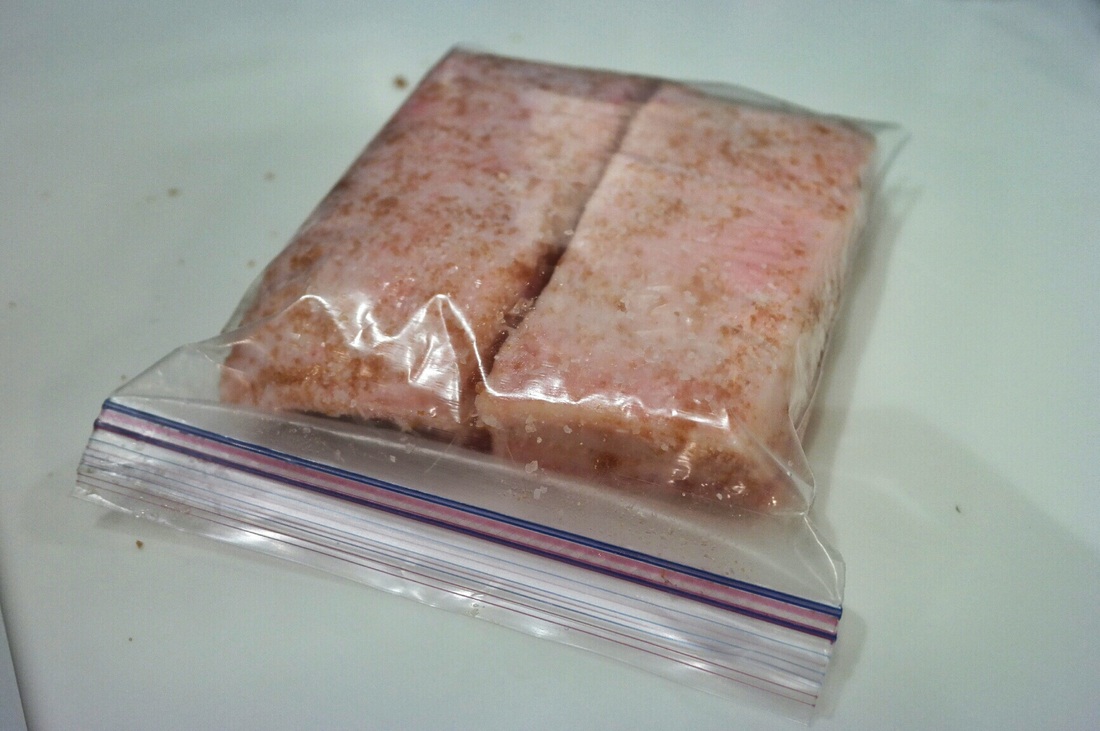
PHASE ZERO: MARINATE THE PORK BELLY
- One 3-pound slab of skinless pork belly
- 1/4 cup kosher salt
- 1/8 cup cane sugar
- 1/8 cup light brown sugar
| Culinary Dance Steps:
|   |
PHASE ONE: MAKE THE RAMEN BROTH
- Two 3x6-inch pieces kombu seaweed, rinsed in cold water
- 6 quarts water
- 2 cups dried shiitake mushrooms, rinsed in cold water
- 2 chicken carcass bones (the bones and their immediate meat and skin) OR one whole 4-pound chicken
- 1/2 cup dried bonito flakes, placed into a cheesecloth "tea bag" or into a metal giant tea ball
- 5 pounds meaty pork bones (preferably neck, shoulder, or leg bones with a little meat on them)
- 3-4 smoked ham hock pork
- 1 bunch scallions
- 1 medium yellow onion, cut in half
- 2 large carrots, peeled and roughly chopped
- Tare (Japanese BBQ sauce), as needed - recipe for this is below
| Culinary Dance Steps:
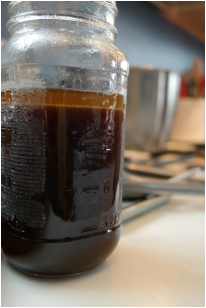
| 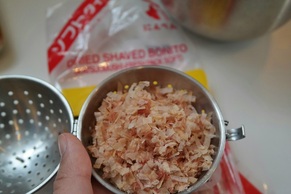 Life easier with bonito flakes in a giant steeping ball when you need to remove the flakes from the broth later. 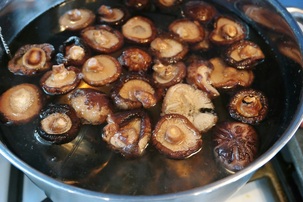 Shitakes will give your broth a beautiful golden color and earthy aroma. 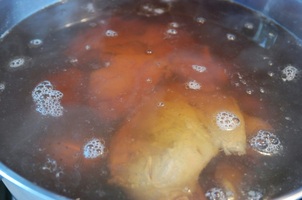 Make sure the chicken stays submerged in the water to get all the flavor out of the meat and bones. 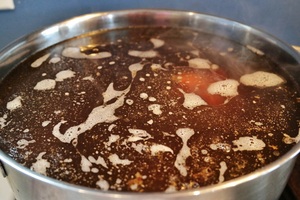 Keep checking your simmering broth periodically to skim off the scum, foam, fat, and debris that floats to the top of the pot. That stuff can ruin a good ramen broth if left to emulsify into the liquid.  Roasted pork bones should have a deep golden color. You can dissolve the toasted brown bits stuck on the pan with a little broth, then add the dissolved stuff back into the pot for more flavor. 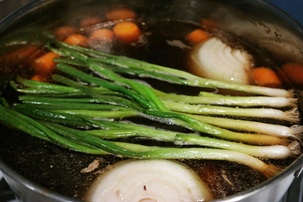 Veggies give the broth a more complex flavor. You're in the homestretch - almost done! |
| While the pork bones in the broth are simmering... PHASE TWO: MAKE THE TARE
|  |
| Culinary Dance Steps: While your pork bones in the ramen broth are simmering...
| 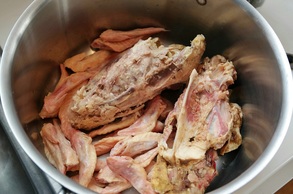 Bones before roasting... 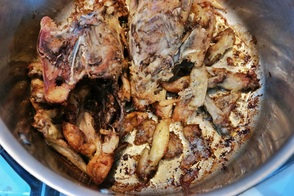 ...Bones after roasting. Nice and deep golden brown bones means lots of flavor. 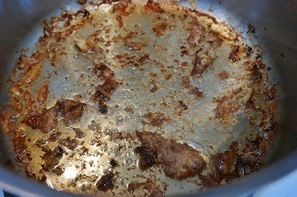 The toasted little bits on the bottom of the pan are called fond, and the more the better. 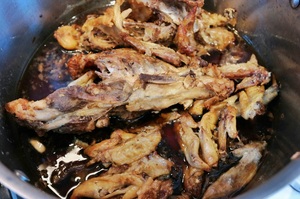 The liquid should be simmering so slightly that it barely bubbles. |
| While the pork bones in the broth are simmering... PHASE THREE: ROAST THE MARINATED PORK BELLY [from phase zero]
| 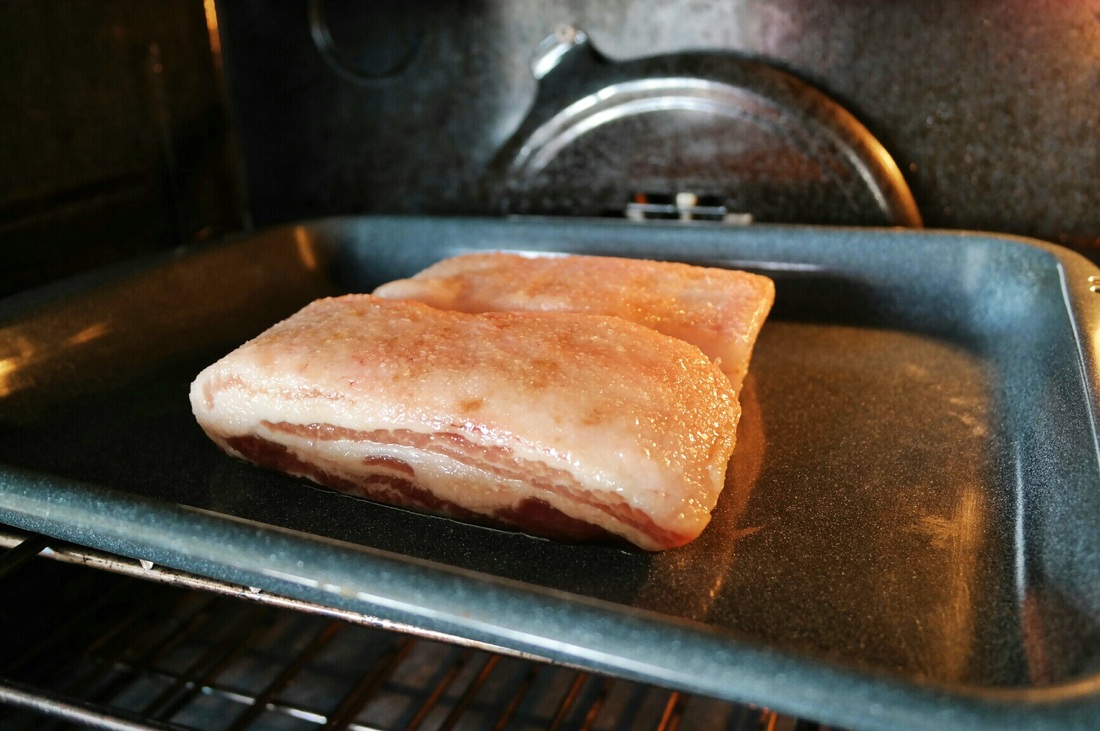 White pork belly that's ready for a tan... 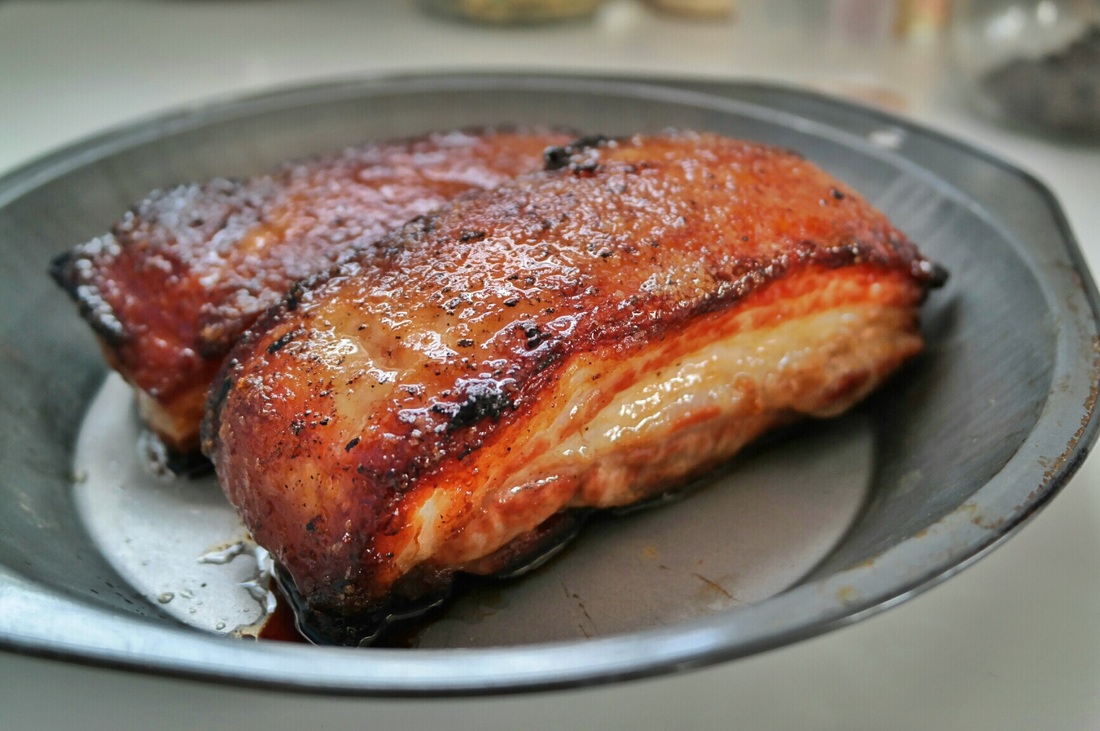 The cooked belly shouldn't be falling apart, but it should yield to a firm finger poke. 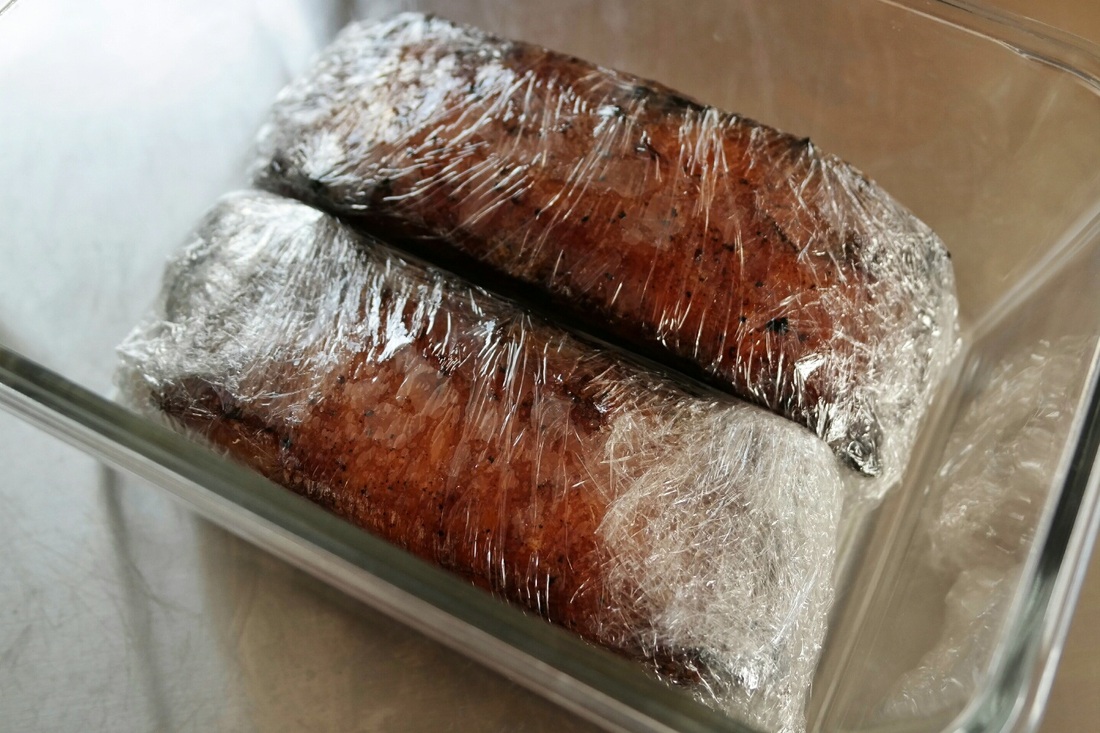 You can skip this chilling step if you don't have time, but the only way to get neat, nice-looking slices is to chill the belly thoroughly before slicing it. 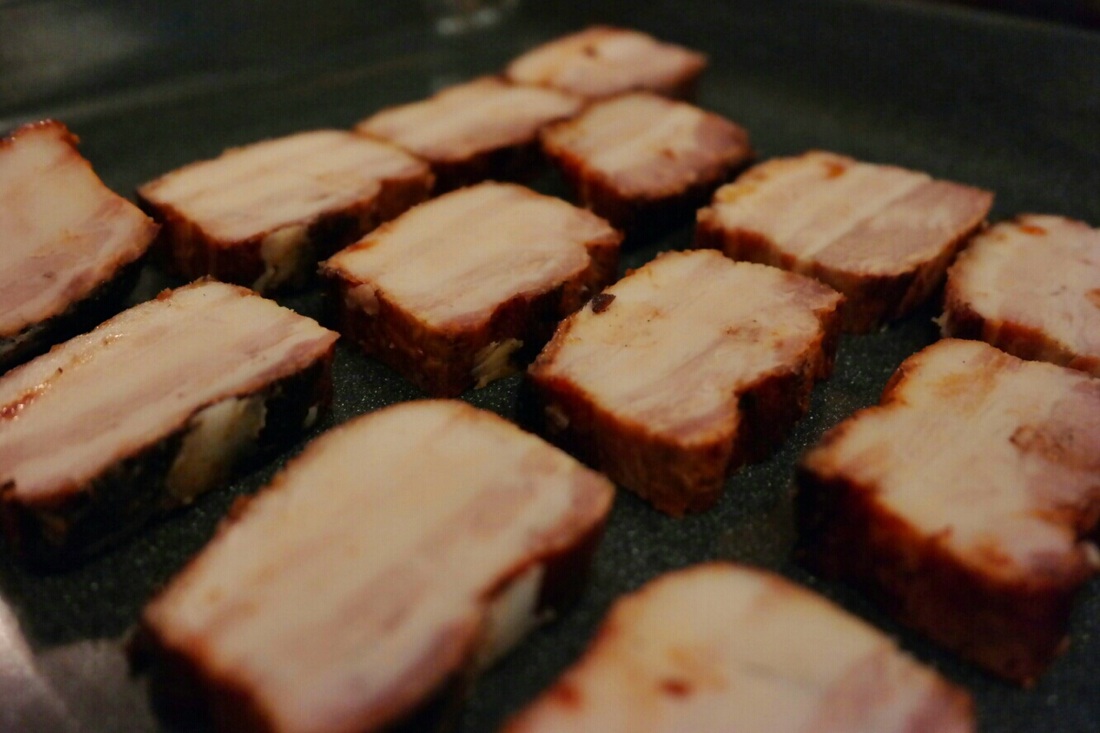 If you need to warm up a bunch of cooked pork belly at once, you can do that in an oven at 425 for 5 minutes. |
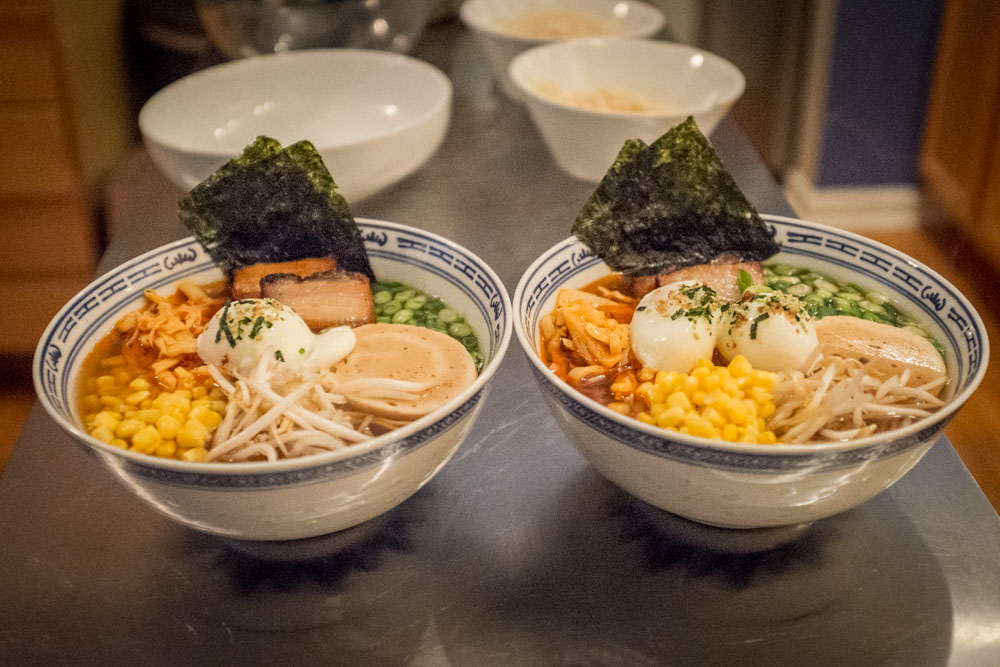
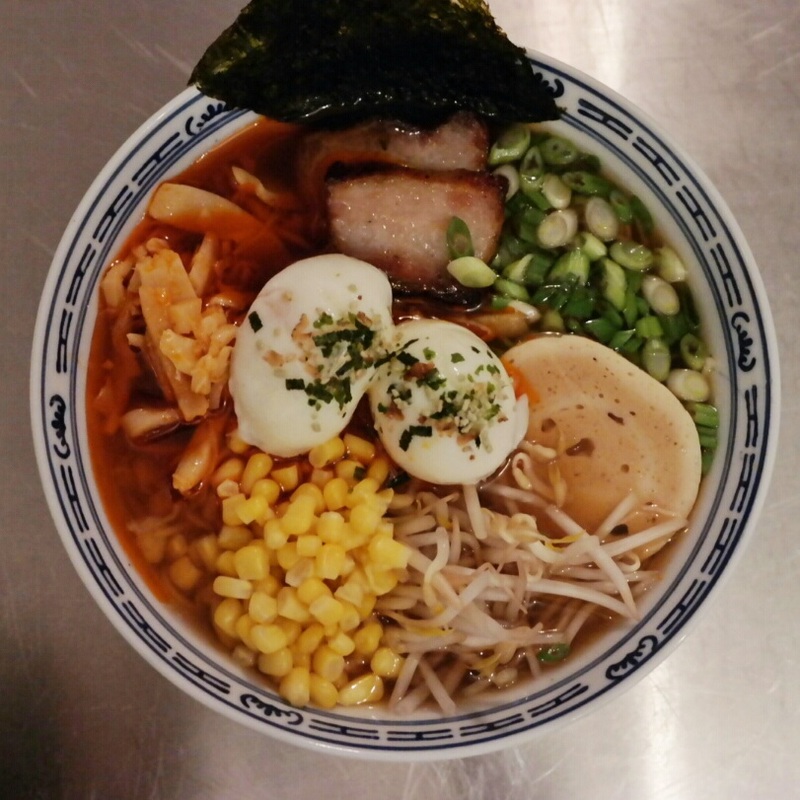
PHASE FOUR: ASSEMBLE THE RAMEN BOWL
- 3 cups of ramen broth
- Tare, as needed
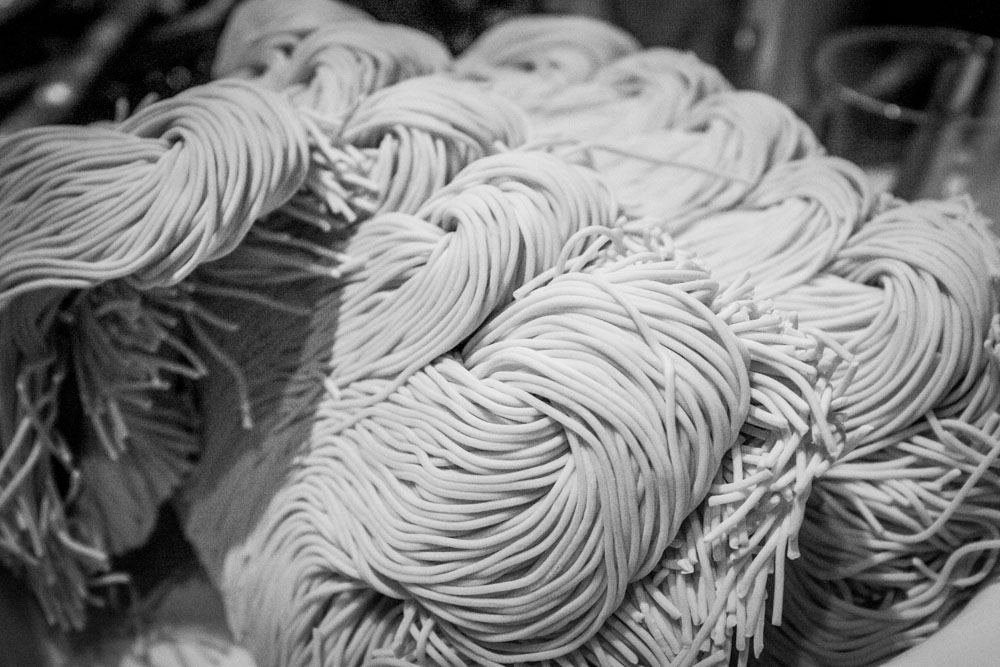
- 6 oz fresh Japanese ramen noodles (Chinese lo mein noodles are okay too)
- 3 slices of roasted pork belly
- Two 3x3-inch sheets of nori seaweed (cut from larger sheets)
- 1/4 cup of thinly sliced scallions (green and white parts)
- 1 poached or soft-boiled egg
- Optional ingredients: bamboo shoots, sliced Japanese fish cake, sweet corn kernels
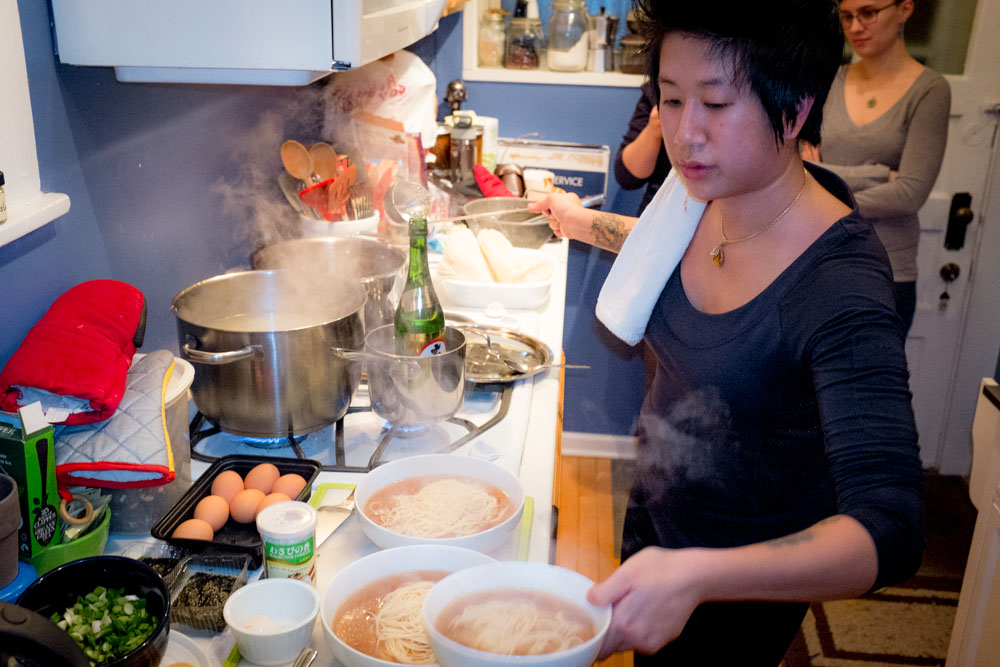
| Assembling instructions:
| 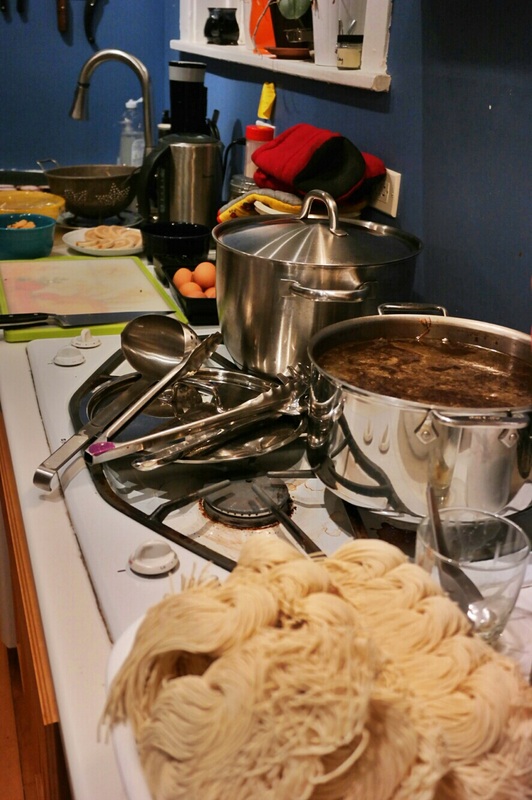 I transformed my kitchen into a ramen shop! Everything is hot, chopped, and ready for assembling. 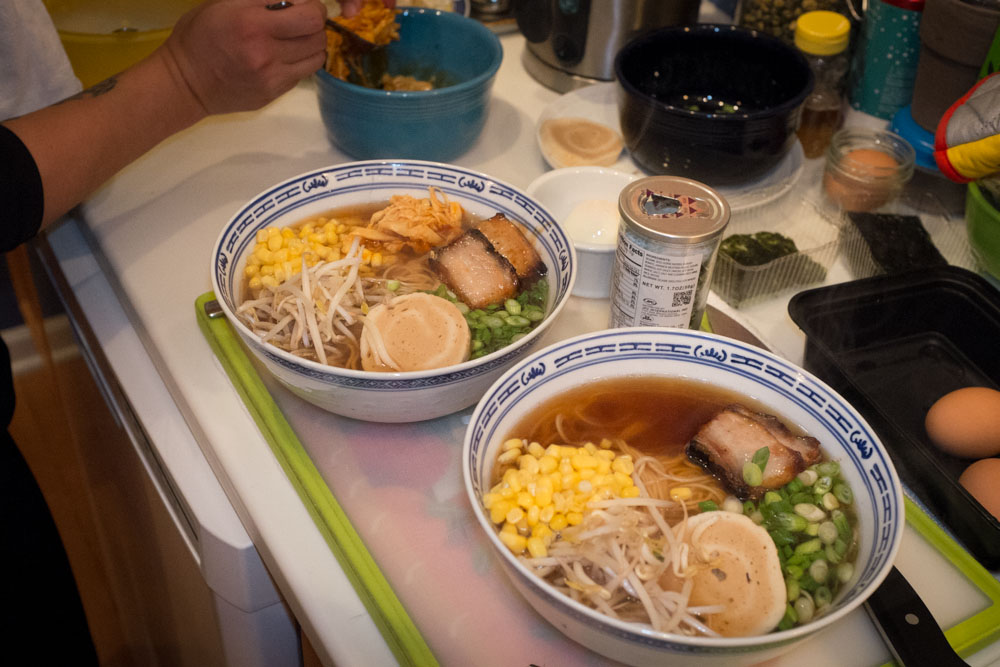 I found that I could plate 2-3 bowls of ramen at a time if I made it like an assembly line. |
WOOHOO! You just finished making your very own ramen made from SCRATCH. You should be extremely proud of yourself because this is no easy feat and not for the faint of heart. Many have tried...few have made it.
I really hope you enjoy your creation!
I really hope you enjoy your creation!
