A Delicious Adventure
  • Blog
  • Recipe Index
  • About
    • Professional Portfolio

Let life be delicious.

A food blog that explores the delicious side of life with tasty recipes and food adventures at home and on the road.

Hope you enjoy!

Find me a delicious recipe!

Sunset Blood Orange Maramalade

3/6/2015

0 Comments

 
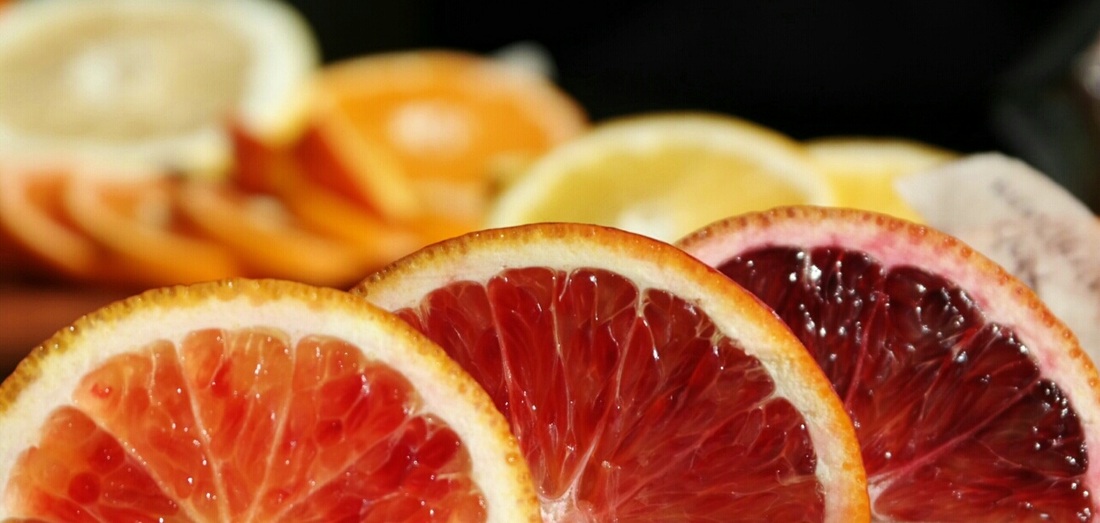
You can find every color of a sunset in blood oranges - golden rod, crimson orange, ruby red, purple maroon, and everything in between. They're some of the most beautiful citrus fruits in season right now, and I had to find a way to make them last through the rest of the year.
Picture
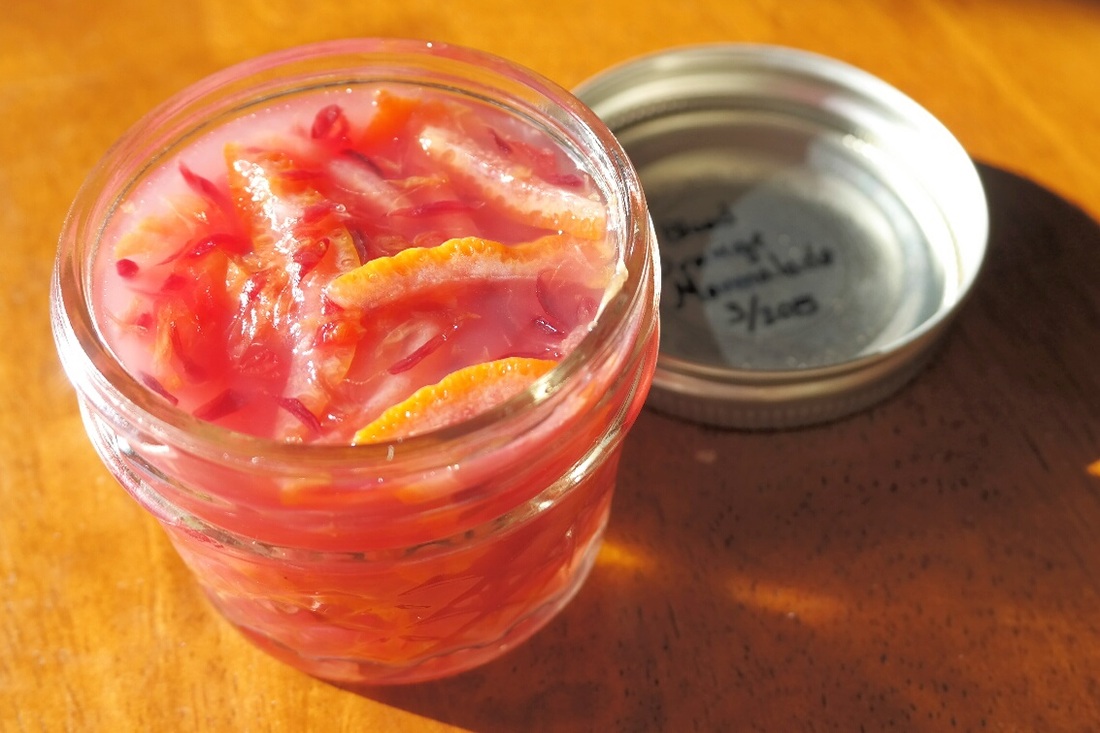
Orange marmalade is one of my favorite preserves since childhood. There's a sweet zing from the orange and a slight bitterness from the rind that balances all the flavors. Seeing the little bits of orange zest also remind me that this was once a whole fruit, versus the clear jellies where it's made only from juice. 
Picture
I will admit that the energy and time to create a lovely marmalade is more intensive than the typical fruit preserve, but if you have the time to make it, the results are very rewarding and will last you for many months. Marmalade is a bit tricky because there's a fine line between making sure the flavor balances between flesh sweetness and peel bitterness, all while keeping the marmalade color vibrant. After researching and testing out a few batches of marmalade, I'm proud to say that my recipe combines the best of all my learning and will give you a successful batch of marmalade that's not only delicious but so beautiful in color. 

Like I said, marmalade making is energy-intensive so please read the entire recipe before starting! While the recipe below shows how to make the marmalade, instructions on proper canning techniques to store the finished marmalade are on another blog post (click here).

Get ready to put a little crimson orange sunset on your next piece of toast or in your oatmeal!

Read More
0 Comments

Sealing Summer in Jars

10/2/2014

0 Comments

 
The last gasp of summer farmers' market vegetables are hanging on to the few warm days we have left, and the fall harvest is in full force. I cringe to think of what the Chicago winter will bring us soon, and I've been feverishly canning all the fruits and vegetables to preserve the dog days of summer.
Picture
PictureA spiffy chart from the book "Tart and Sweet" that shows acidity levels of some common fruits and veggies...
The initial idea of canning, while it seemed a romantic throwback to preserving the farm harvest, was quite intimidating. There was the great unknown of what is involved in the canning process, and thoughts of killing my family and friends with botulism over improperly canned jams and jellies ran through my mind. I had a close friend that confidently reassured me that canning is simple, approachable, and very safe as long as you know a few ground rules:


1. HIGH-ACID FOODS ARE EASIER TO CAN
When canning at home, it's easiest to stick to canning foods that have a higher acidity (pH level of 4.6 or lower) because acid is a natural sterilizer, keeping enzymes, mold, bacteria and yeast from spoiling your food. 

2. INVEST IN THE RIGHT GEAR 
Canning isn't rocket science, and you really don't need all the techie canning gadgets to get started. Here's a list of the six basic essentials for boiling water bath canning:
  • A large pot for boiling the empty jars, preheating the lids, and processing the filled jars. The pot needs to be deep enough to full submerge the empty and filled jars under water.
  • Clean kitchen towels to place on the bottom of the large pot so that jars do not directly touch the bottom of the pot when boiling and to wipe the rims of unsealed jars.
  • Canning jars that are specifically made for canning - like Ball, Kerr, or Mason. Do not use old mayo, pickle, or sauce jars! Canning jars consist of three pieces: the glass jar, the metal disc lid, and the metal screw band. The glass jar and the metal screw band can be reused, but the disc lids are a one-time use because the rubber sealant on the edges will only properly seal once.
  • A magnetic wand that helps to retrieve the hot metal lids when they're preheated and submerged in the hot water.
  • A jar lifter or really sturdy tongs to lift and lower jars into the boiling water bath.
  • A ladle to pour food into the jars. Having a funnel to help neatly pour food in jars is nice, but not absolutely necessary.

Read More
0 Comments

    Categories:

    All
    Adventures On The Road
    Appetizers
    Brain Food
    Breakfast
    Dessert
    Dinner
    Drinks
    Kitchen Tools & Technique
    Lunch
    Preserving & Pickling
    Simple Weeknight Gourmet
    Snacks


    Connect:


    My beeradvocate.com profile!

    Subscribe:


Powered by Create your own unique website with customizable templates.