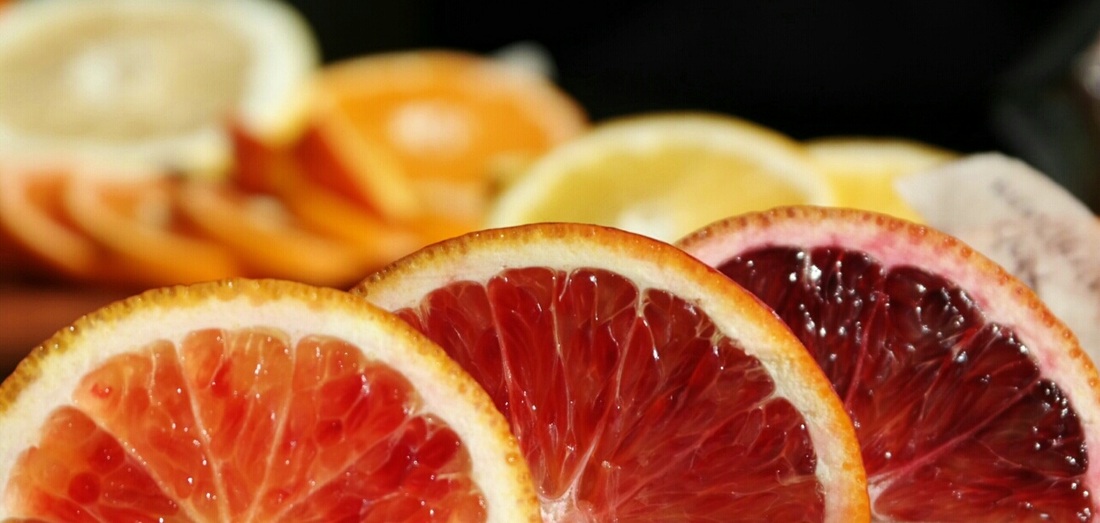
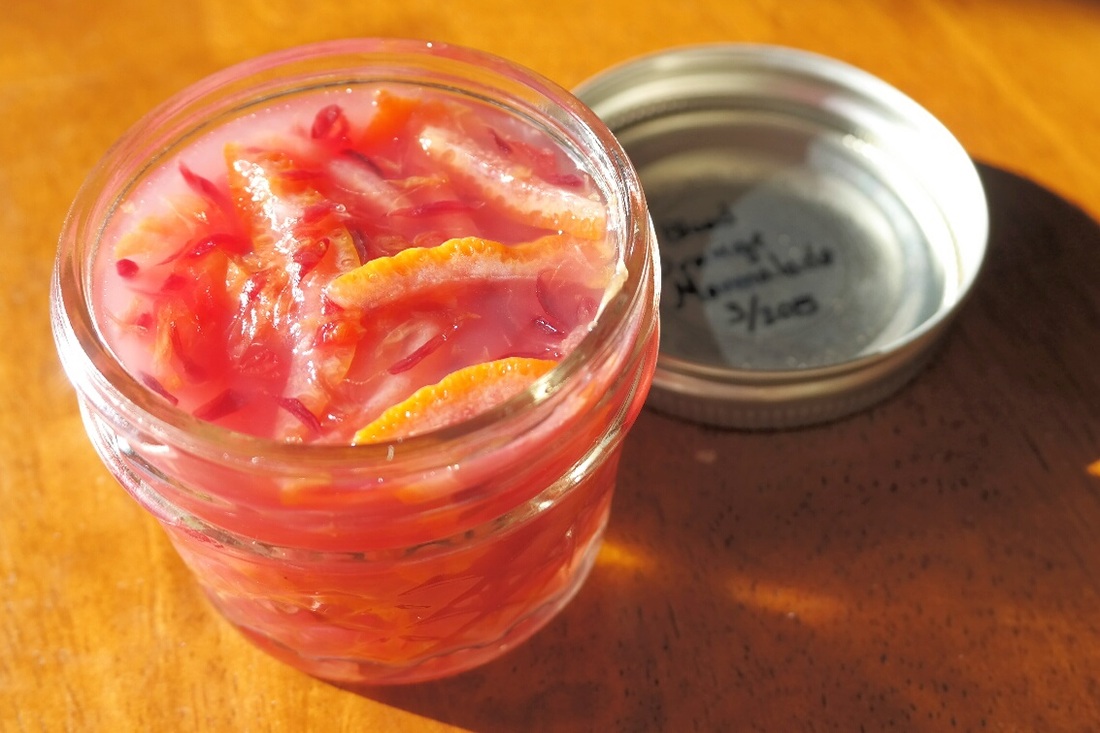
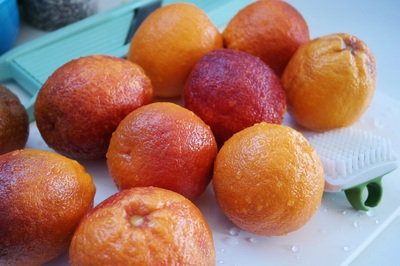
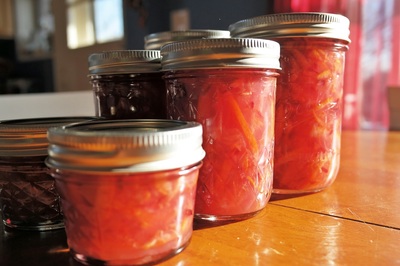
You can find every color of a sunset in blood oranges - golden rod, crimson orange, ruby red, purple maroon, and everything in between. They're some of the most beautiful citrus fruits in season right now, and I had to find a way to make them last through the rest of the year.
Orange marmalade is one of my favorite preserves since childhood. There's a sweet zing from the orange and a slight bitterness from the rind that balances all the flavors. Seeing the little bits of orange zest also remind me that this was once a whole fruit, versus the clear jellies where it's made only from juice.
I will admit that the energy and time to create a lovely marmalade is more intensive than the typical fruit preserve, but if you have the time to make it, the results are very rewarding and will last you for many months. Marmalade is a bit tricky because there's a fine line between making sure the flavor balances between flesh sweetness and peel bitterness, all while keeping the marmalade color vibrant. After researching and testing out a few batches of marmalade, I'm proud to say that my recipe combines the best of all my learning and will give you a successful batch of marmalade that's not only delicious but so beautiful in color.
Like I said, marmalade making is energy-intensive so please read the entire recipe before starting! While the recipe below shows how to make the marmalade, instructions on proper canning techniques to store the finished marmalade are on another blog post (click here).
Get ready to put a little crimson orange sunset on your next piece of toast or in your oatmeal!
Blood Orange Marmalade
(Makes 8 pints)
| Special Equipment Needed:
|
Culinary Dance Steps:
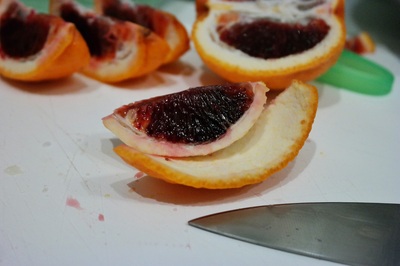
- Scrub clean all of the oranges. Cut the oranges lengthwise into 8 even wedges.
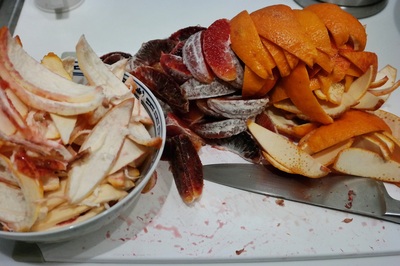
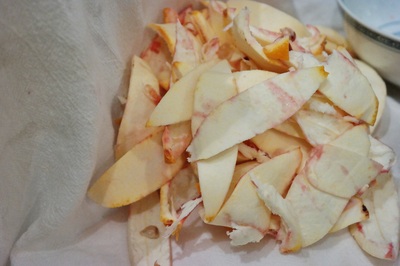
- For each orange wedge, remove the core that has seeds and tough membrane, cut off the orange part of the peel (leaving a tiny bit of white with the peel), and separate the white pith that is still stuck on the outside of the orange flesh. Don't throw anything out! Every part of the orange will be used.
- Bundle all of the orange cores, seeds, and white pith in a cheese cloth or kitchen towel. Set aside.
- With a very sharp knife, cut all of the orange peels into tiny matchstick slivers. Cut all of the orange flesh slices into 0.25" thick triangles. Place all of the peel slivers and flesh pieces into a large bowl.
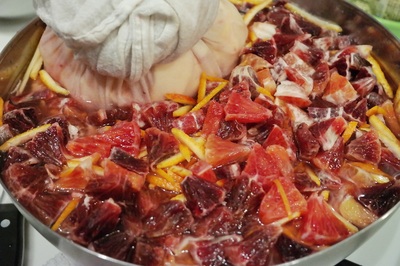
- Add 6 cups of water to the large bowl, and nestle the cheese cloth / kitchen towel bundle into the bowl with the peel and flesh. Try to make sure all of the flesh and peels are in the water and most of the bundle is submerged in water too.
- Let the orange bowl chill in the fridge for at least 6 hours, up to overnight. This will give the orange peel time to soften and release bitterness, the pith/seeds to release their natural pectin into the water, and the flesh to release some beautiful red color into the water. If you do not do this step, the marmalade will be overly bitter and chewy.
- While the orange bowl is chilling in the fridge, place a small non-plastic plate into the freezer. You'll need the frozen plate in step 14.
- After chilling, remove the bowl from the fridge. Discard the cheesecloth bundle and transfer all of the orange peels, flesh, and soaking liquid to a large stainless steel pot. Do not use an aluminum pot because it will react with the citrus.
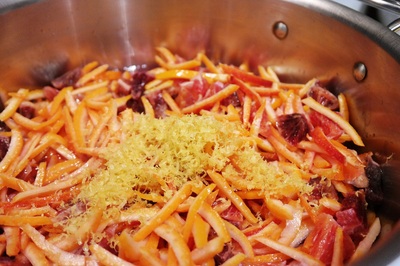
- Scrub clean the lemons, and remove their zest and juice. Add the lemon zest and juice to the orange pot.
- Bring the orange pot to a boil, and let it simmer for 20 minutes.
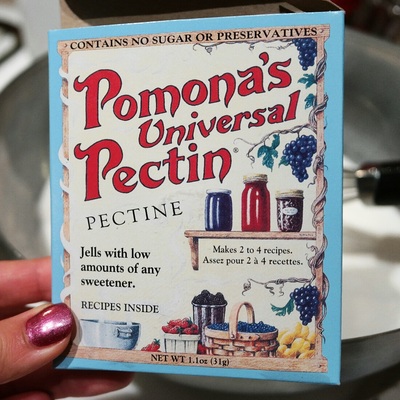
- While the orange pot is simmering, start to sterilize the jars, metal bands, and lids in another large canning pot (Step 1 in my canning blog post). Also, during this time, you can prepare the Pomona's Pectin by creating the calcium water and in a separate large bowl, mixing the sugar and all the pectin in the sachet together (~9 tsp). I specifically chose Pomona's pectin because I've had the best luck with this brand for setting my marmalade. Ball brand is okay, but make sure to refer to their instructions for how much pectin is needed.
- After the orange lemon mixture has been simmering for 20 minutes, stir in 7 tsp of the calcium water.
- Once the calcium water is thoroughly mixed into the pot, vigorously whisk in the sugar pectin a little at a time. Make sure that the sugar pectin is completely whisked into the liquid before adding more sugar pectin to avoid the pectin from clumping. If the pectin clumps a lot, it'll take a lot of time to try and break up the clumps, if that is even possible.
- Bring the marmalade liquid back up to a boil. At this point the hot liquid should be syrupy thick. You can test to see if the marmalade is ready by adding a teaspoon of of the hot liquid to the frozen plate (from step 7). If the liquid sets up into a jelly-like consistency on the frozen plate, the marmalade is finished. If the liquid is still runny when on the frozen plate, let the marmalade liquid simmer for 10 more minutes before testing it again on the plate.
- Once the marmalade is ready, it's time to can! Steps 4-10 in my canning blog post will teach you how to properly can your delicious marmalade and other preserves.
